Painting Zombicide Invader: Xenomoths
- Chris Bowler
- Feb 7, 2020
- 3 min read

Updated: May 9, 2021
Today we're taking a look at how I painted my Xenomoths for #ZombicideInvader. I'll be using a technique known as wet blending. The aim here is to keep your paints as wet as possible and blend them together on the mini to create a more realistic transition between colours.

For this I like to use Lahmian medium instead of water but to each their own. I also like to use a larger brush when I'm blending, usually opting for a large dry brush and then switching to a smaller brush when I need to get into more cramped areas.
Recipe
For this paint job I used the following paints and materials.
Citadel Grey Seer Spray
Citadel Contrast Volupus Pink
Citadel Contrast Magos Purple
Citadel Contrast Flesh Tearers Red
Citadel Technical Lahmian Medium
Formula P3 Menoth White Highlight
Formula P3 Morrow White
Formula P3 Battlefield Brown
Citadel Technical Martian Ironearth
Technique
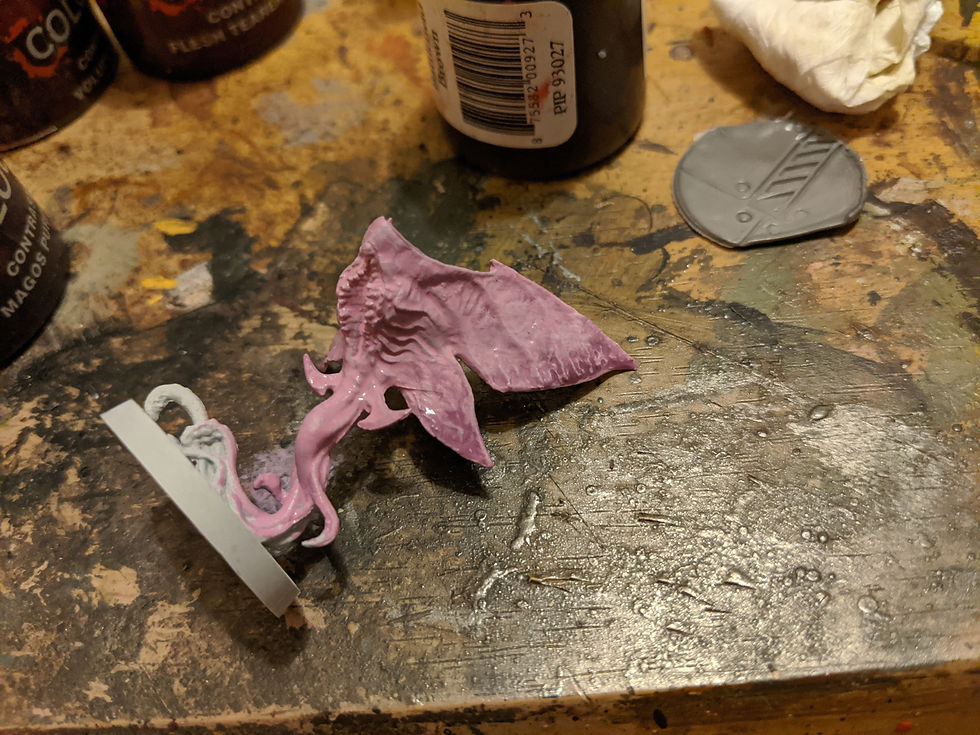
So I started out with a thin wet coat of white thinned down with Lahmian medium over a base coat of Grey Seer.

Next I added a small amount of volupus pink to my brush and started blending that into the main body.

After that I hit the wingtips with Magos Purple
Then I loaded up my brush with the white mix again and began to brush the body, lightening everything. I continued with this until the area around the head and mouth were almost white but gently blended into the pinker wings.

Next I hit the tentacles with pure volupus pink...

Followed by flesh tearers red...

Then adding in some Lahmian medium I blended it out into the main body, finally adding some of my white mix to help with the transition.

Next I switched to a finer detail brush and using the white mix I began picking out the highlights. I really concentrated them around the head and tops of the wings. To blend the edges I used a technique I call feathering, by applying the paint to the area I want brightest and then brushing back and forth moving downwards until the brush runs out of paint.

At this point I can take a little break and let things dry. Then, using my large dry brush, I loaded it up with Magos Purple and began to dab the wing tips. I'm looking to create an uneven unique pattern on the wings. I did this front and back.

Then picking up the fine detail brush again I set about adding dots, almost randomly to each wing using Magos Purple

Next I added in the mouth using Flesh Tearers Red, pure in the recess and then mixed with Lahmian Medium around the teeth.

The final step was to add in the teeth using Menoth White Base. After that I brushed on a coat of Matt Varnish which gives the model a nice bright sheen without making it too shiny but I did add a drop of gloss varnish to the mouth.

The minis were then based using my standard Zombicide Invader techniques.

And there we have it. Each moth took around 15 minutes to paint, with another couple of hours to do the basing and varnishing across the set. Because they are blended there is a nice mix of colour variation across the set too which stops them all feeling the same.
Next week I'll be tackling the last large group, the Seekers. Until then, have fun painting...
The Duke
The Duke first attempted wet blending on the swords of some Githyanki models he was painting for a commission seven years ago... he's still not quite figured out how to get it right...


You're better than me! Seriously good painting.